737 Project Resurrection
Posted on 23 June 2025 by wortelus — 3 min
In the past month, I shifted my focus onto an older project of mine. A project I started back in 2023 after finishing the 737 MCP (which is right now disassembled for tidying up the wiring...) - that being the
Boeing 737 MTU (Motorized Throttle Unit)
The project was first conceived as a summer project, but as we will begin to see, it had slipped into a long marathon of a multi-skill pursuit. The project, originally developed by the very creative and driven Karl at 737diysim.com, has 5 pages of instructions as a starting point, and I am yet to finish the first one...

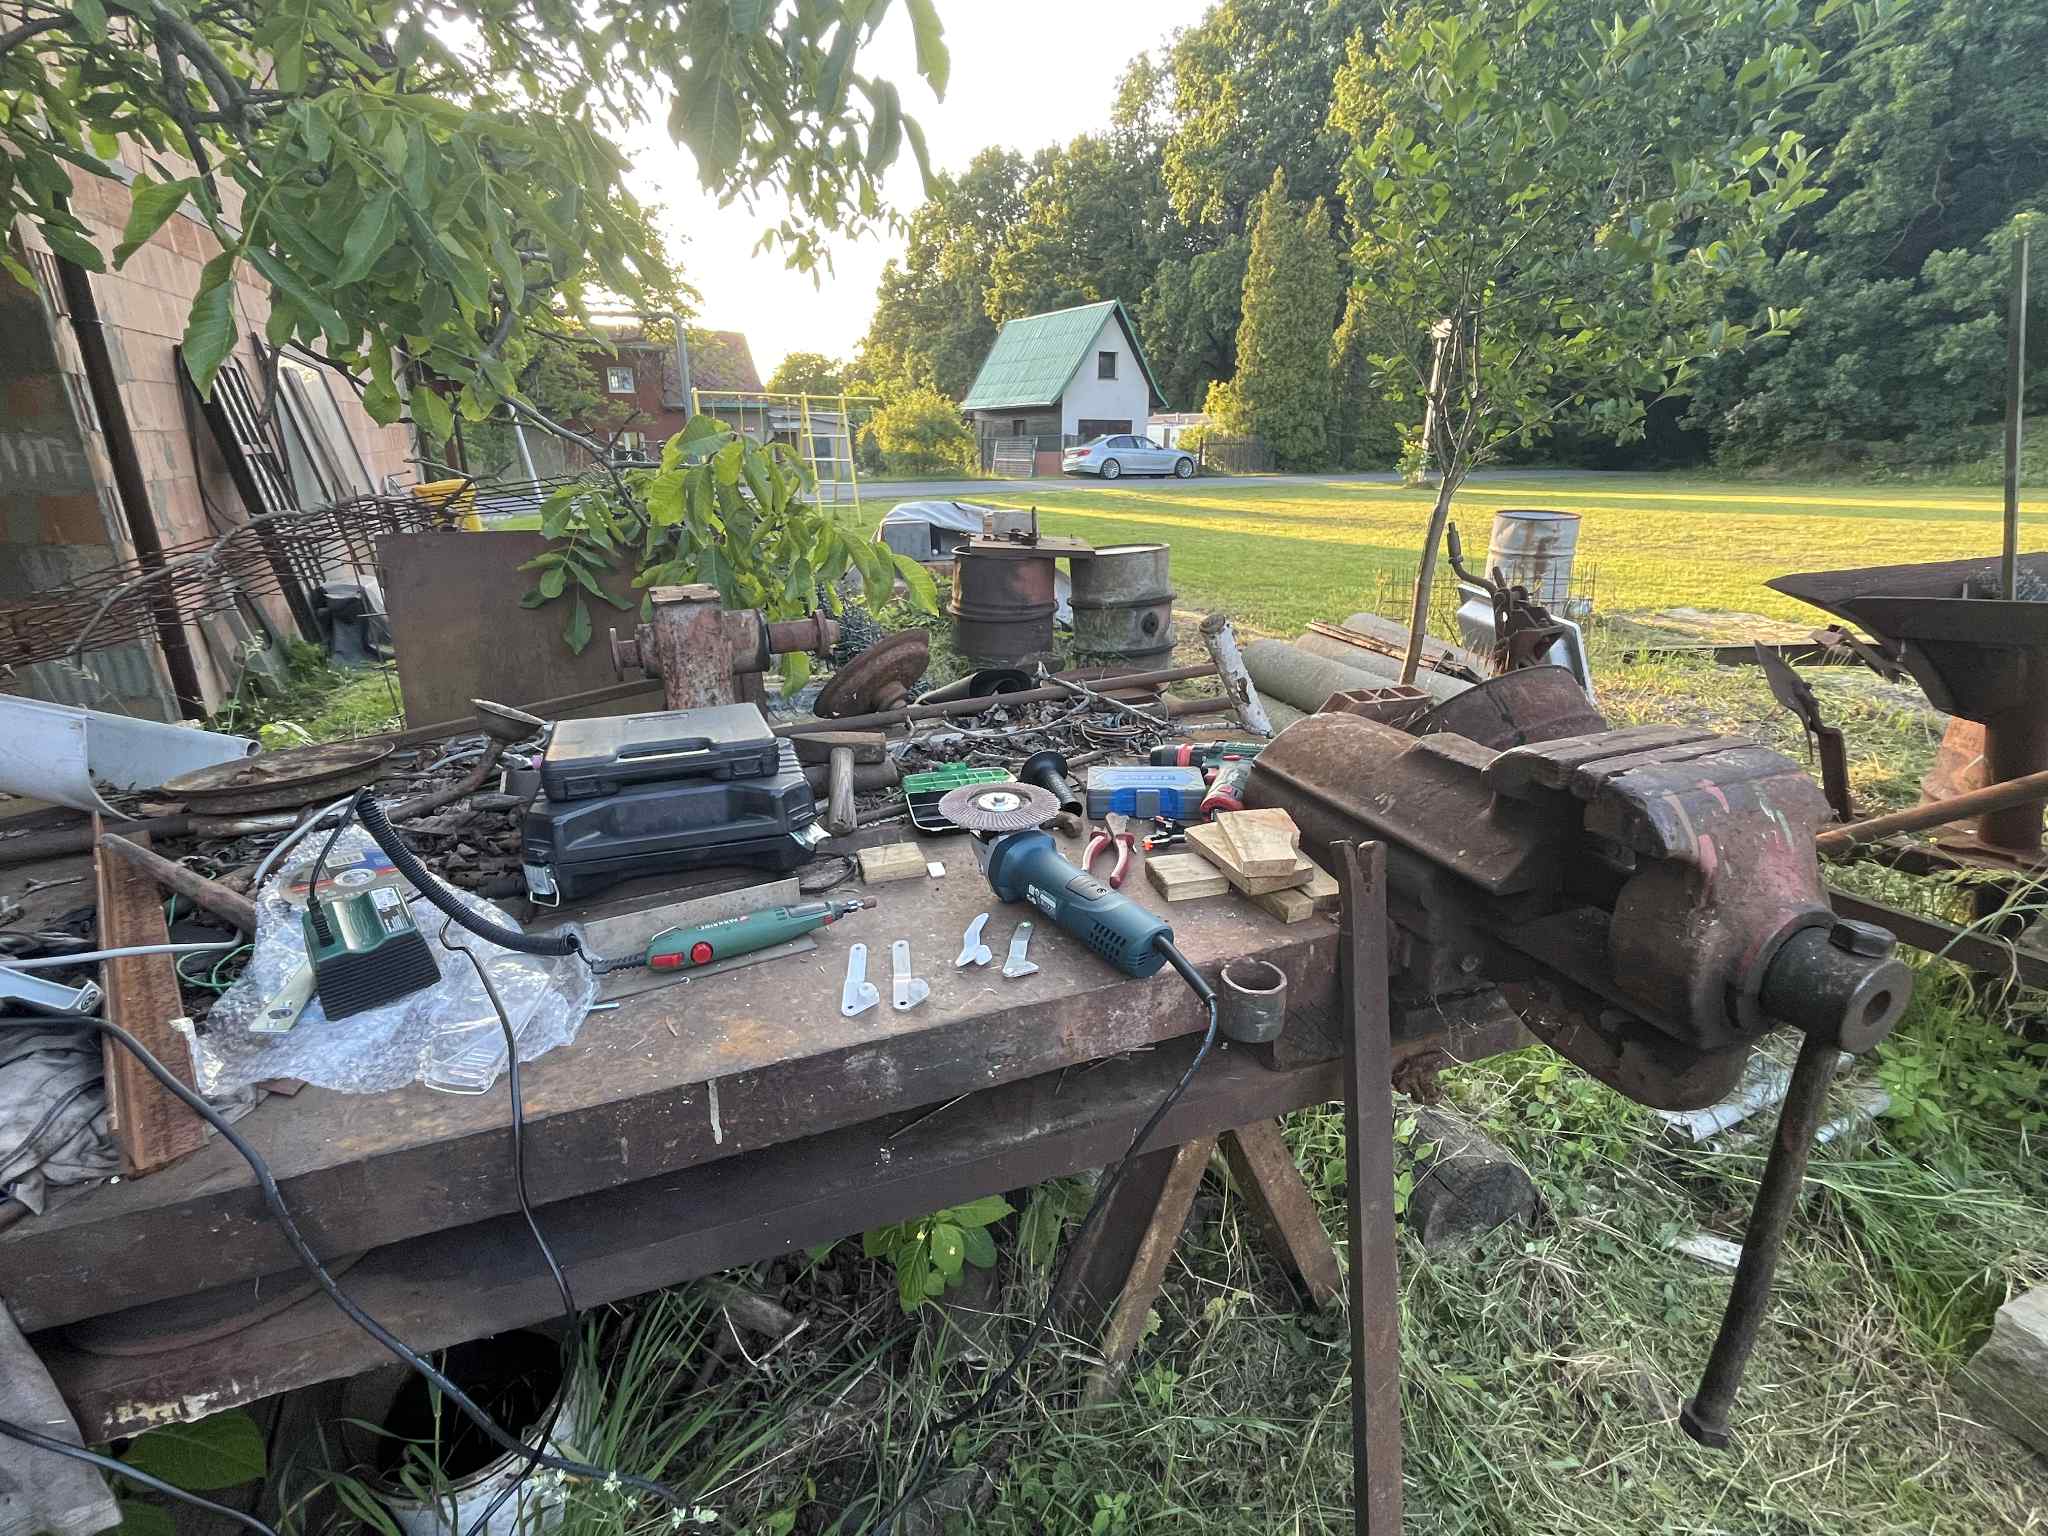
This thing is massive. But not only that. I am far from starting the wiring and motorization, but even now it is ton of 3D printing, acrylic spraying, metalworking and more :) (image taken from here).
The first step consists of making the throttle levers (the two biggest ones in the center), but I already made numerous mods and additions to the original design. Let's look at the handles:
This thing already took about a week to finish. Priming + several layers of acrylic spray paint. Important part of this process was to ensure a complete seal of the 3D FDM print for the next step, which was labeling the text. I used enamel paint for this, which proved to be a valid approach, since enamel & acrylic paint don't really give a single F about each other and are able to coexist nicely (and also stick). Also, the mineral spirit, which dissolves leftover paint, doesn't disturb the cured layers of acrylic at all :) which is nice. If only acrylic were as resistant to IPA and similar solvents :(
The next stuff was the metal-working, which I was (and still am) a complete beginner to. There are many parts like this — this is one of them, a nice piece of aluminum I finished 2 days ago, which will eventually be the reverse thrust handle for engine #2 :) The one for #1 is finished, too, and should be symmetric when put together. The original design doesn't provide a way to do this, and using plastic for this handle is not ideal, since it is quite narrow, will be prone to twisting and, eventually, breaking. So, I combined 3D printed part with the 3mm aluminum:
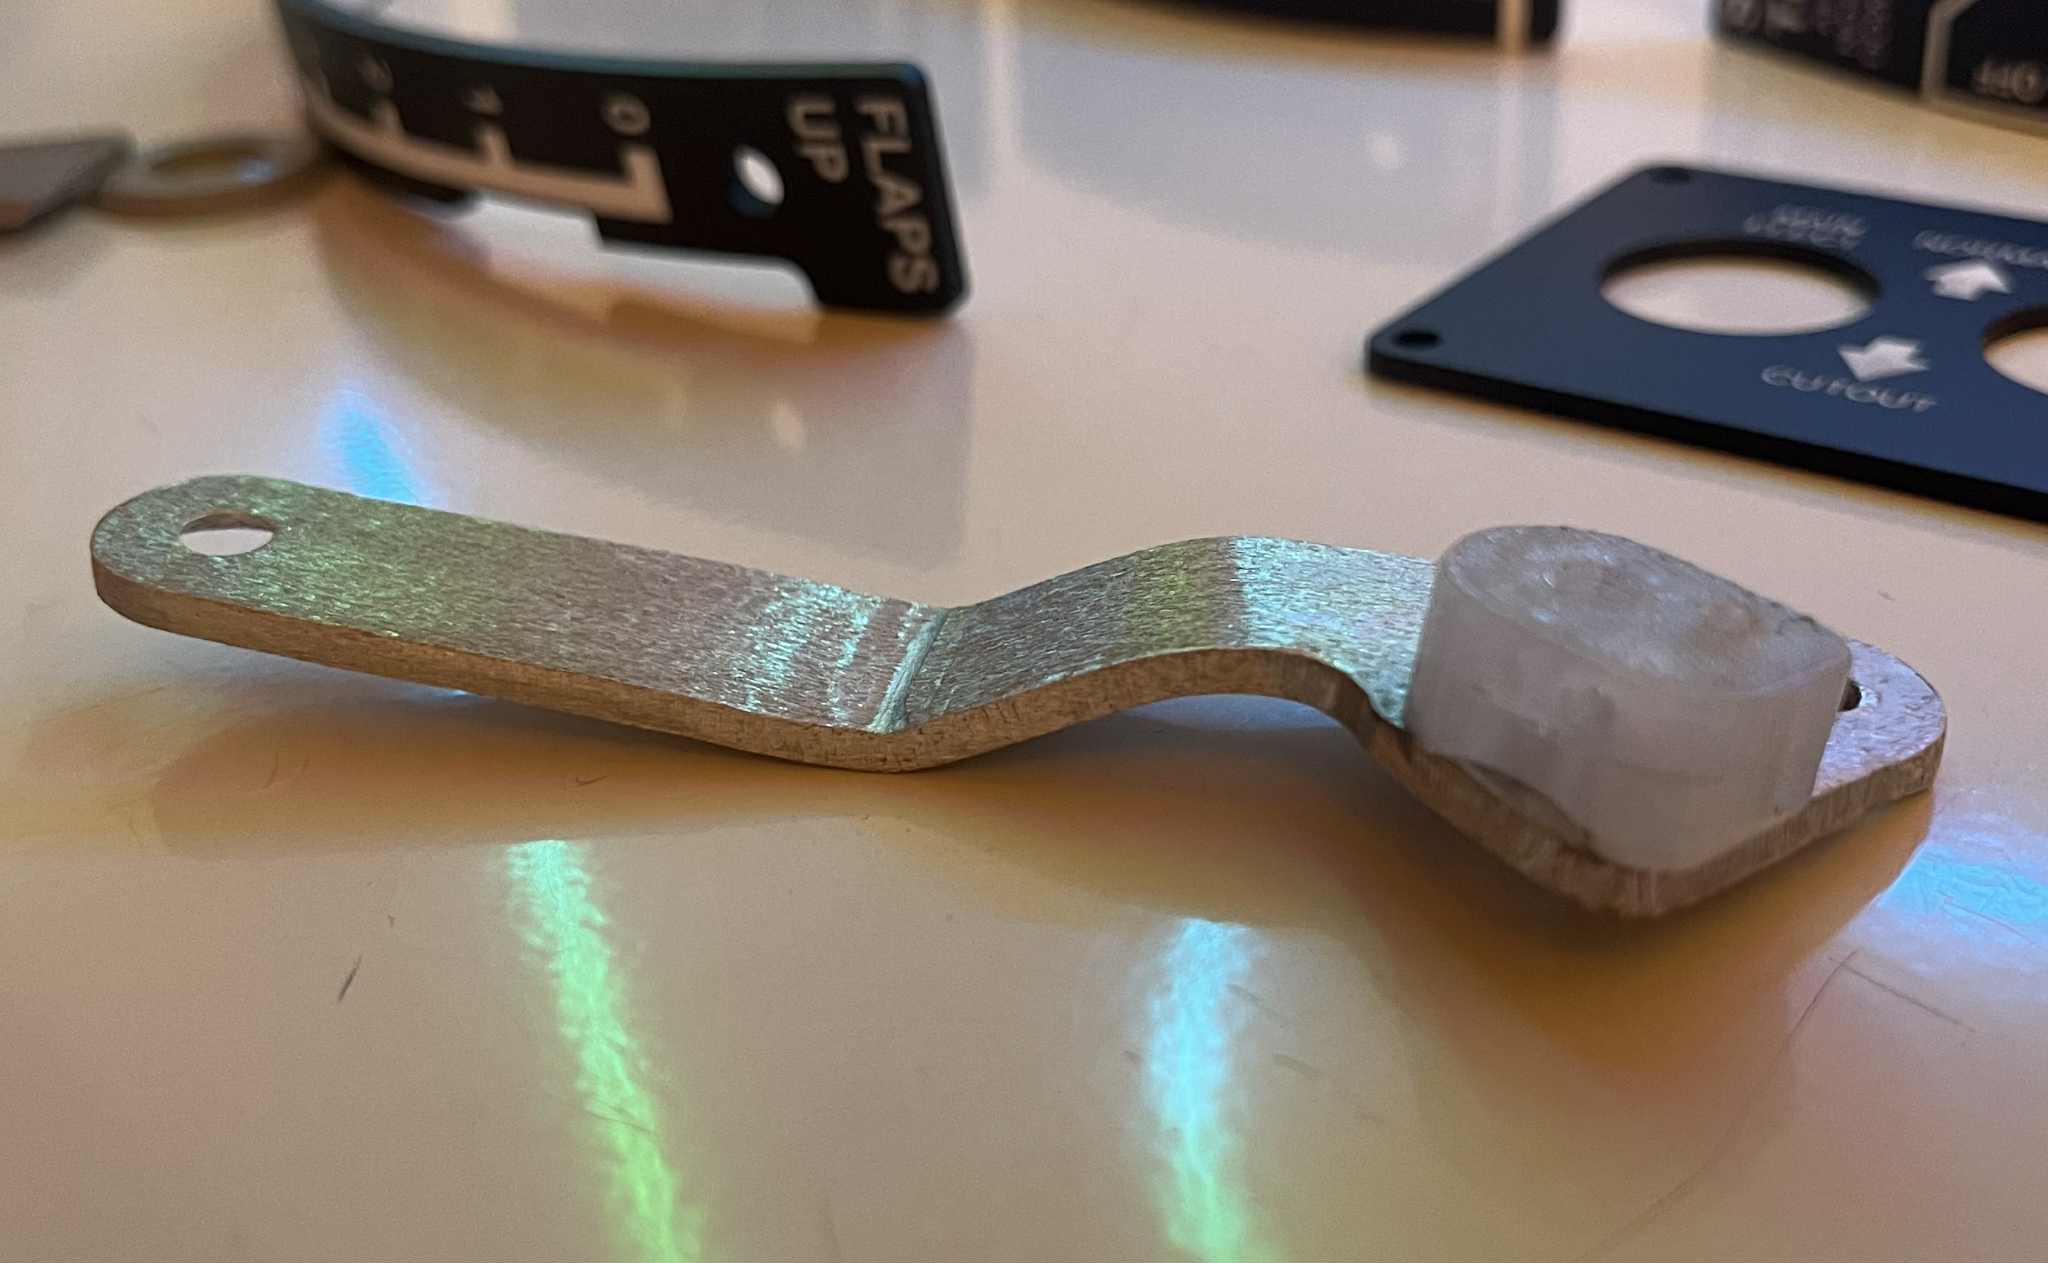 ...isn't it great ? We live in a time, where you can choose aluminum for one part, PETG for the other & combine them TOGETHER
The next thing I will show you is the decal for TOGA buttons. You will hardly spot it, you never have to look at it, but after it will be complete, you & I will know, that this will be a great detail: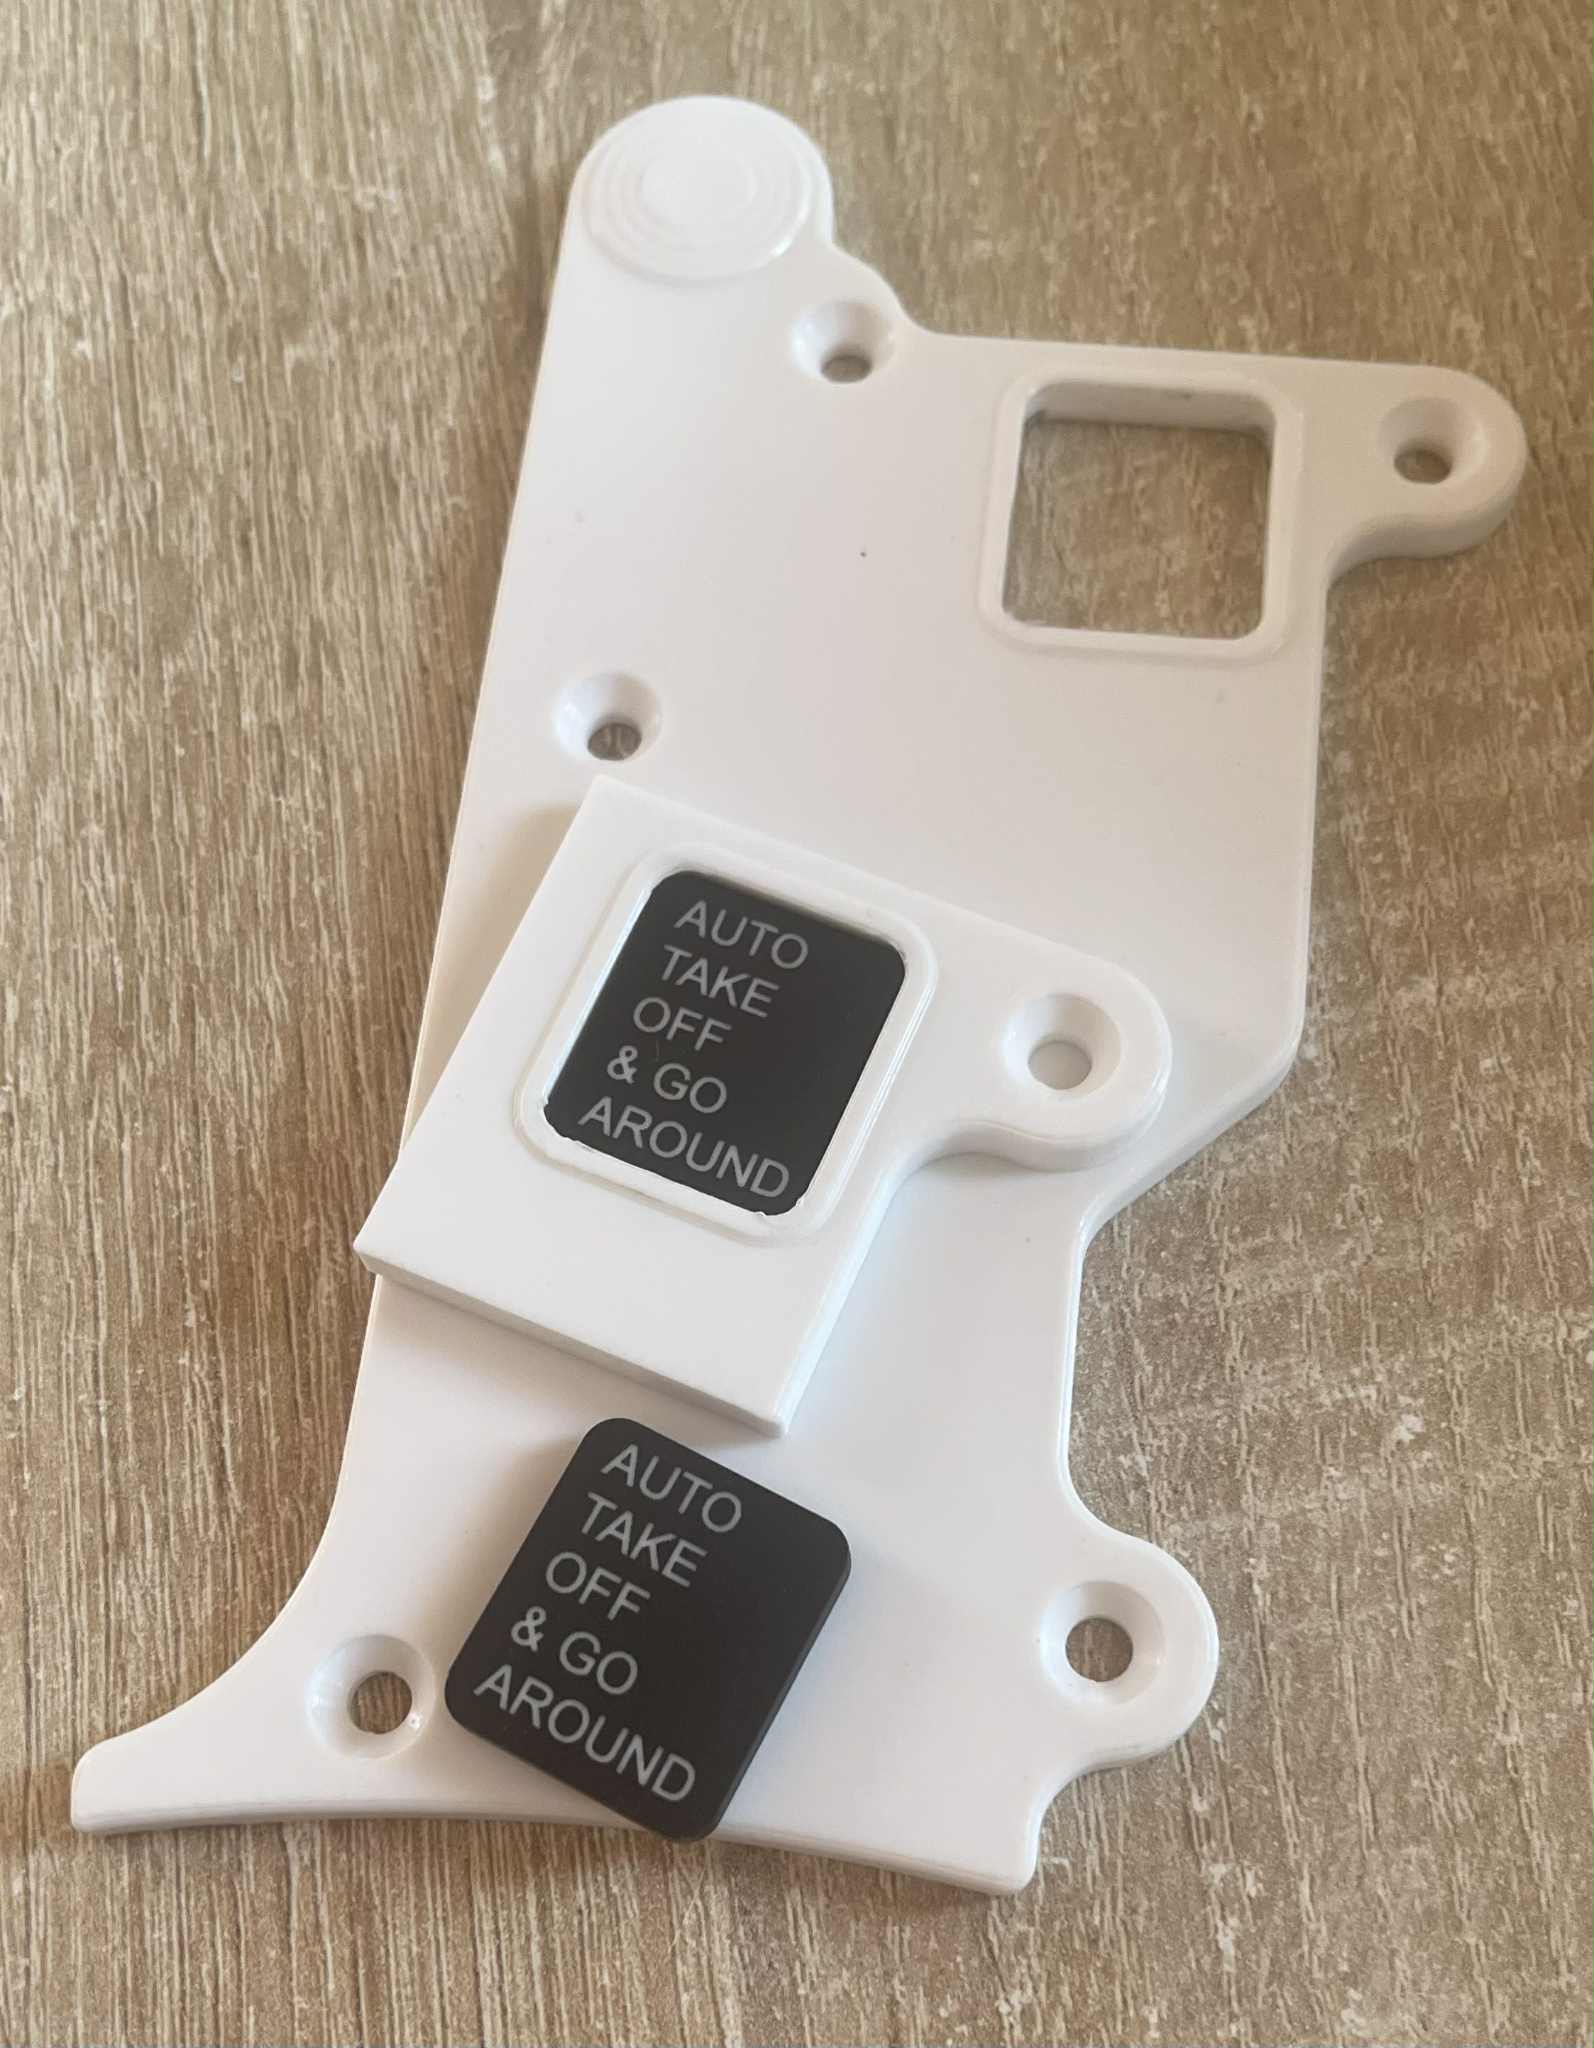 ...those ones will be put on the side of the thrust levers. The great thing is - it can be BACKLIT :) The real throttles are just stickers and don't light up, but I feel that making it glow orange will surely make the TOGA decal look nice - a nice advantage of using laser-engraved parts.
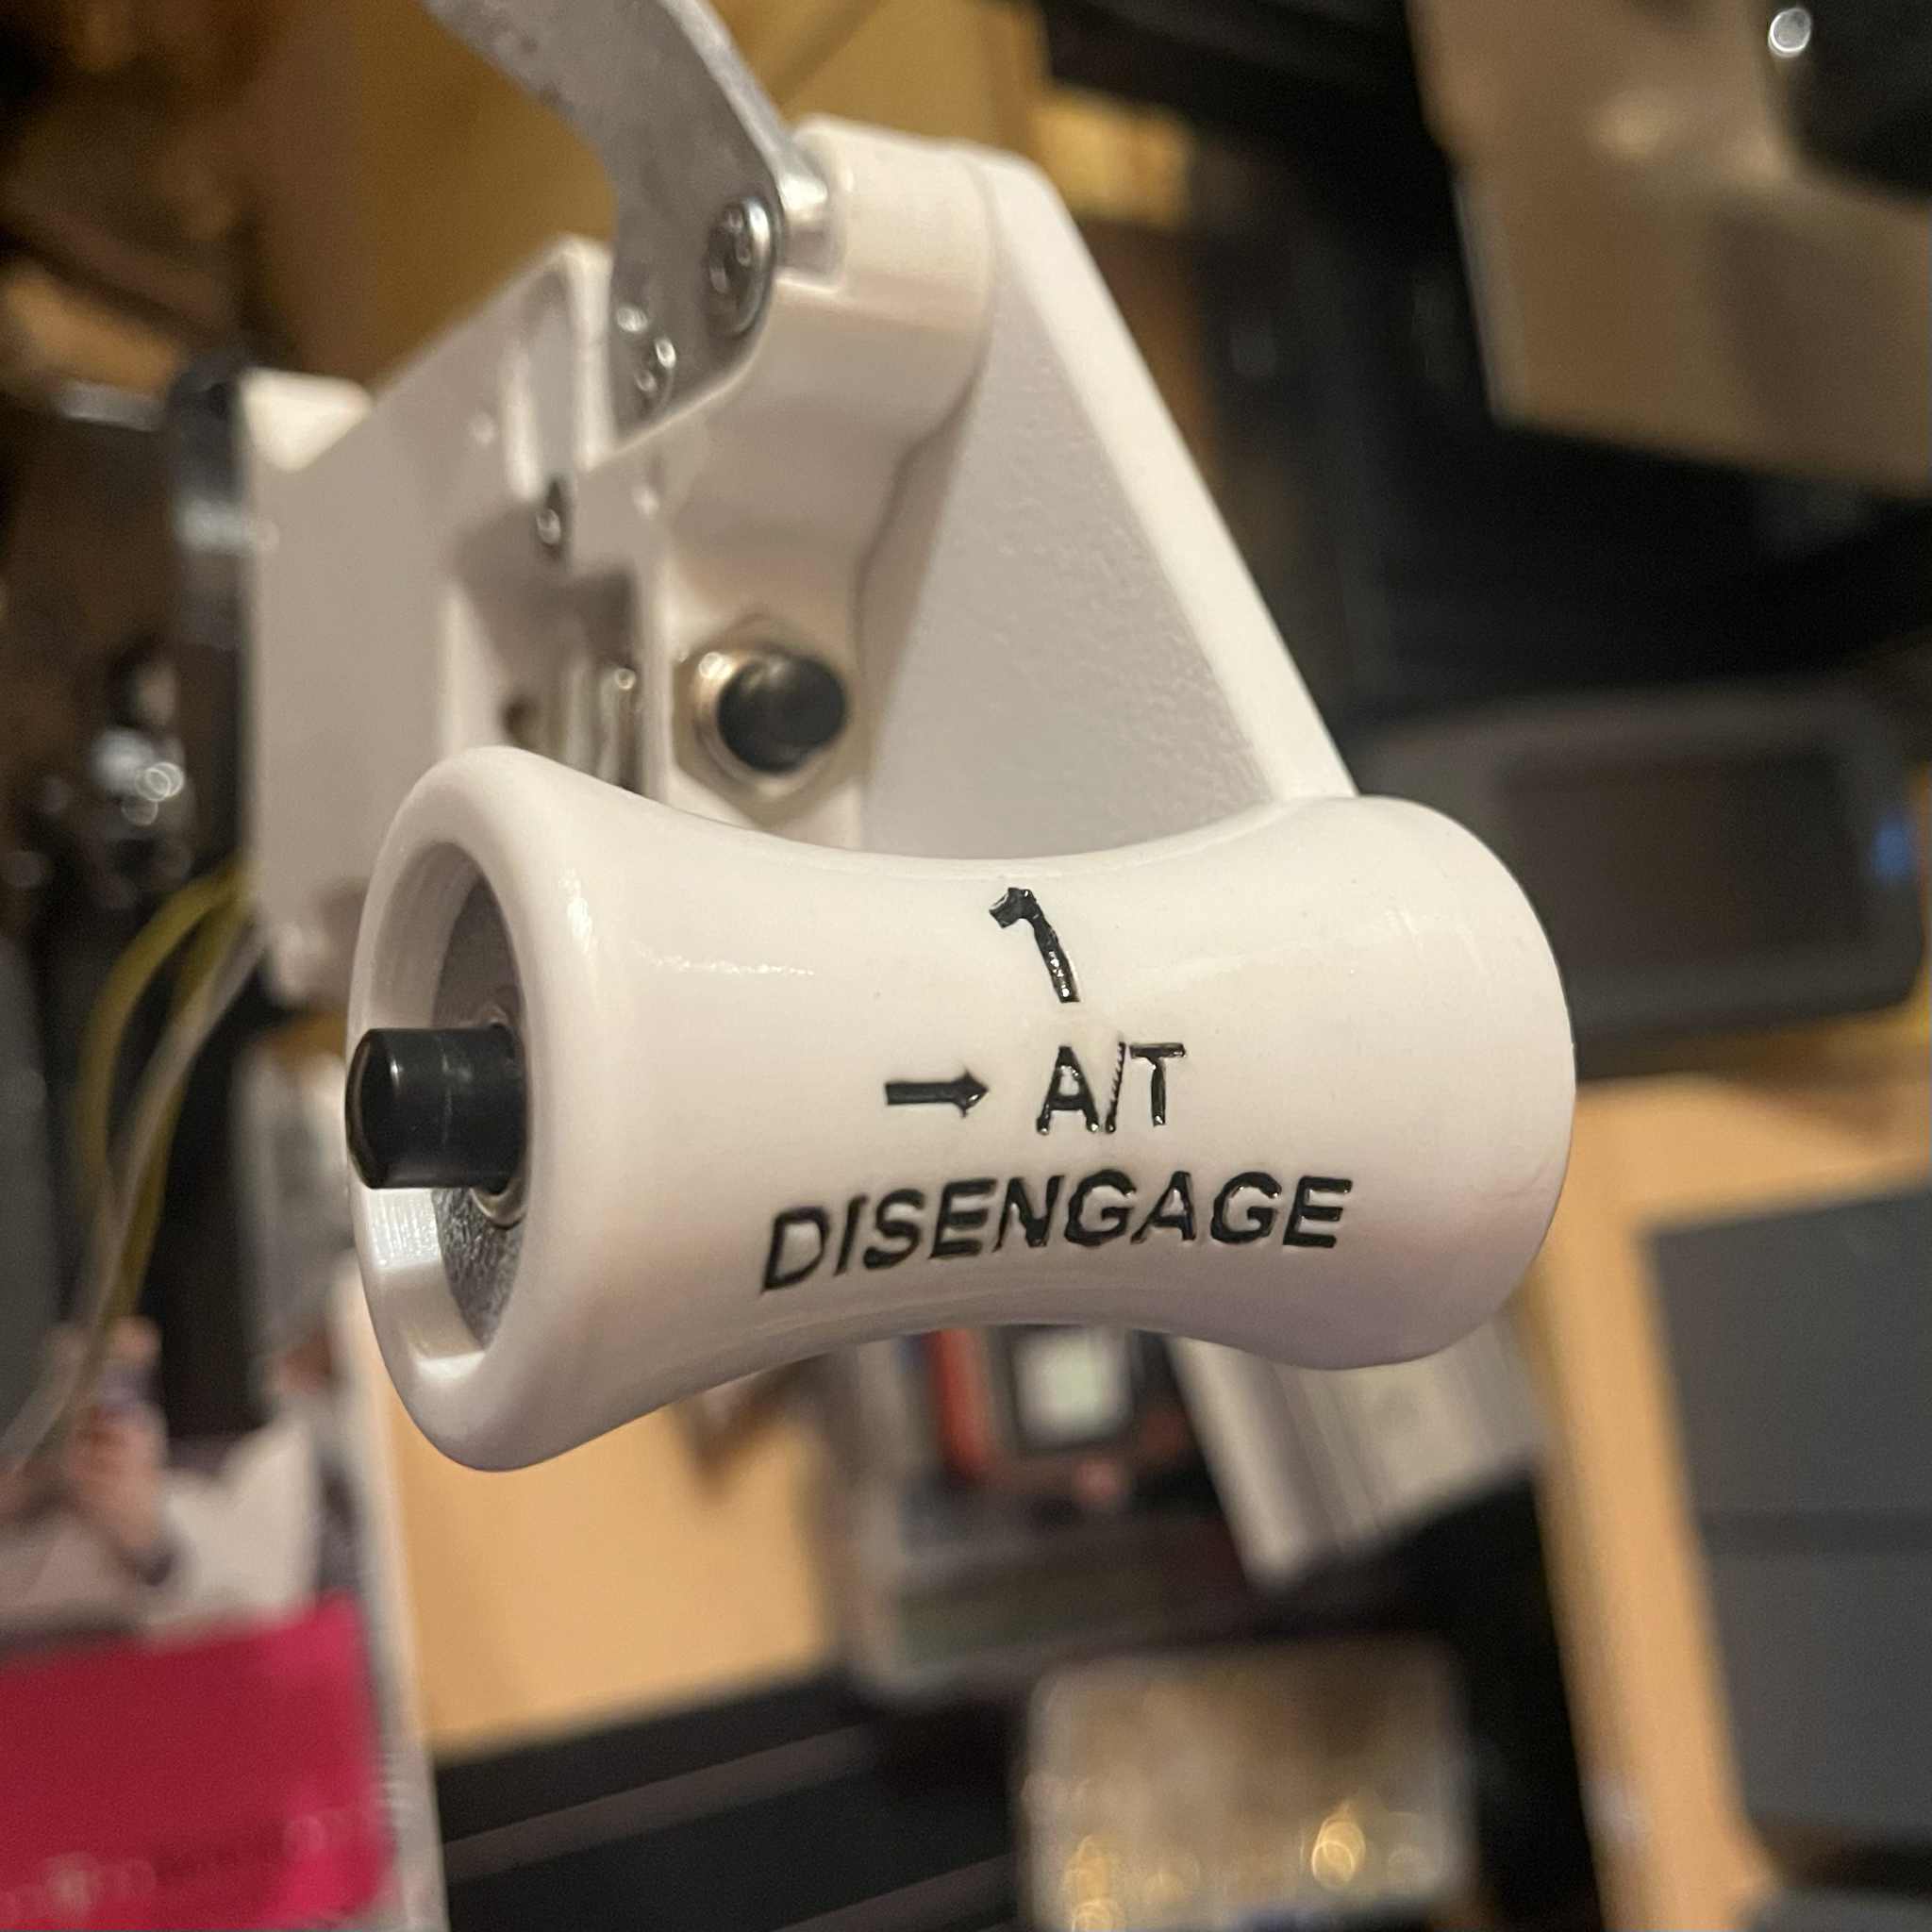
Those are just a few modification I did so far, I also switched the button type from TOGA & A/T disconnect to something more tactile. I almost regret the amount of thought I put into these first steps - but as my grandfather always said - "if you want something to be pretty, you must give it time & effort" - simple, yet true. And the saying always calms you when you feel stuck at building steps for too long.
Signing out,
wortelus